Easter is just around the corner, bringing with it the joys of chocolate eggs, springtime fun, and cherished family traditions. Whether you love an exciting Easter egg hunt, gathering around for a cosy film night, or baking delicious seasonal treats, this time of year is all about making memories. Easter arts and crafts are a fantastic way to get the whole family involved, spark creativity, and maybe even start a brand-new tradition! From fun and messy projects to quick and easy DIY decorations, and even some tasty edible crafts, there’s something for everyone to enjoy.
Ready to hop into some creative fun and make this Easter egg-stra special? Let’s dive in!
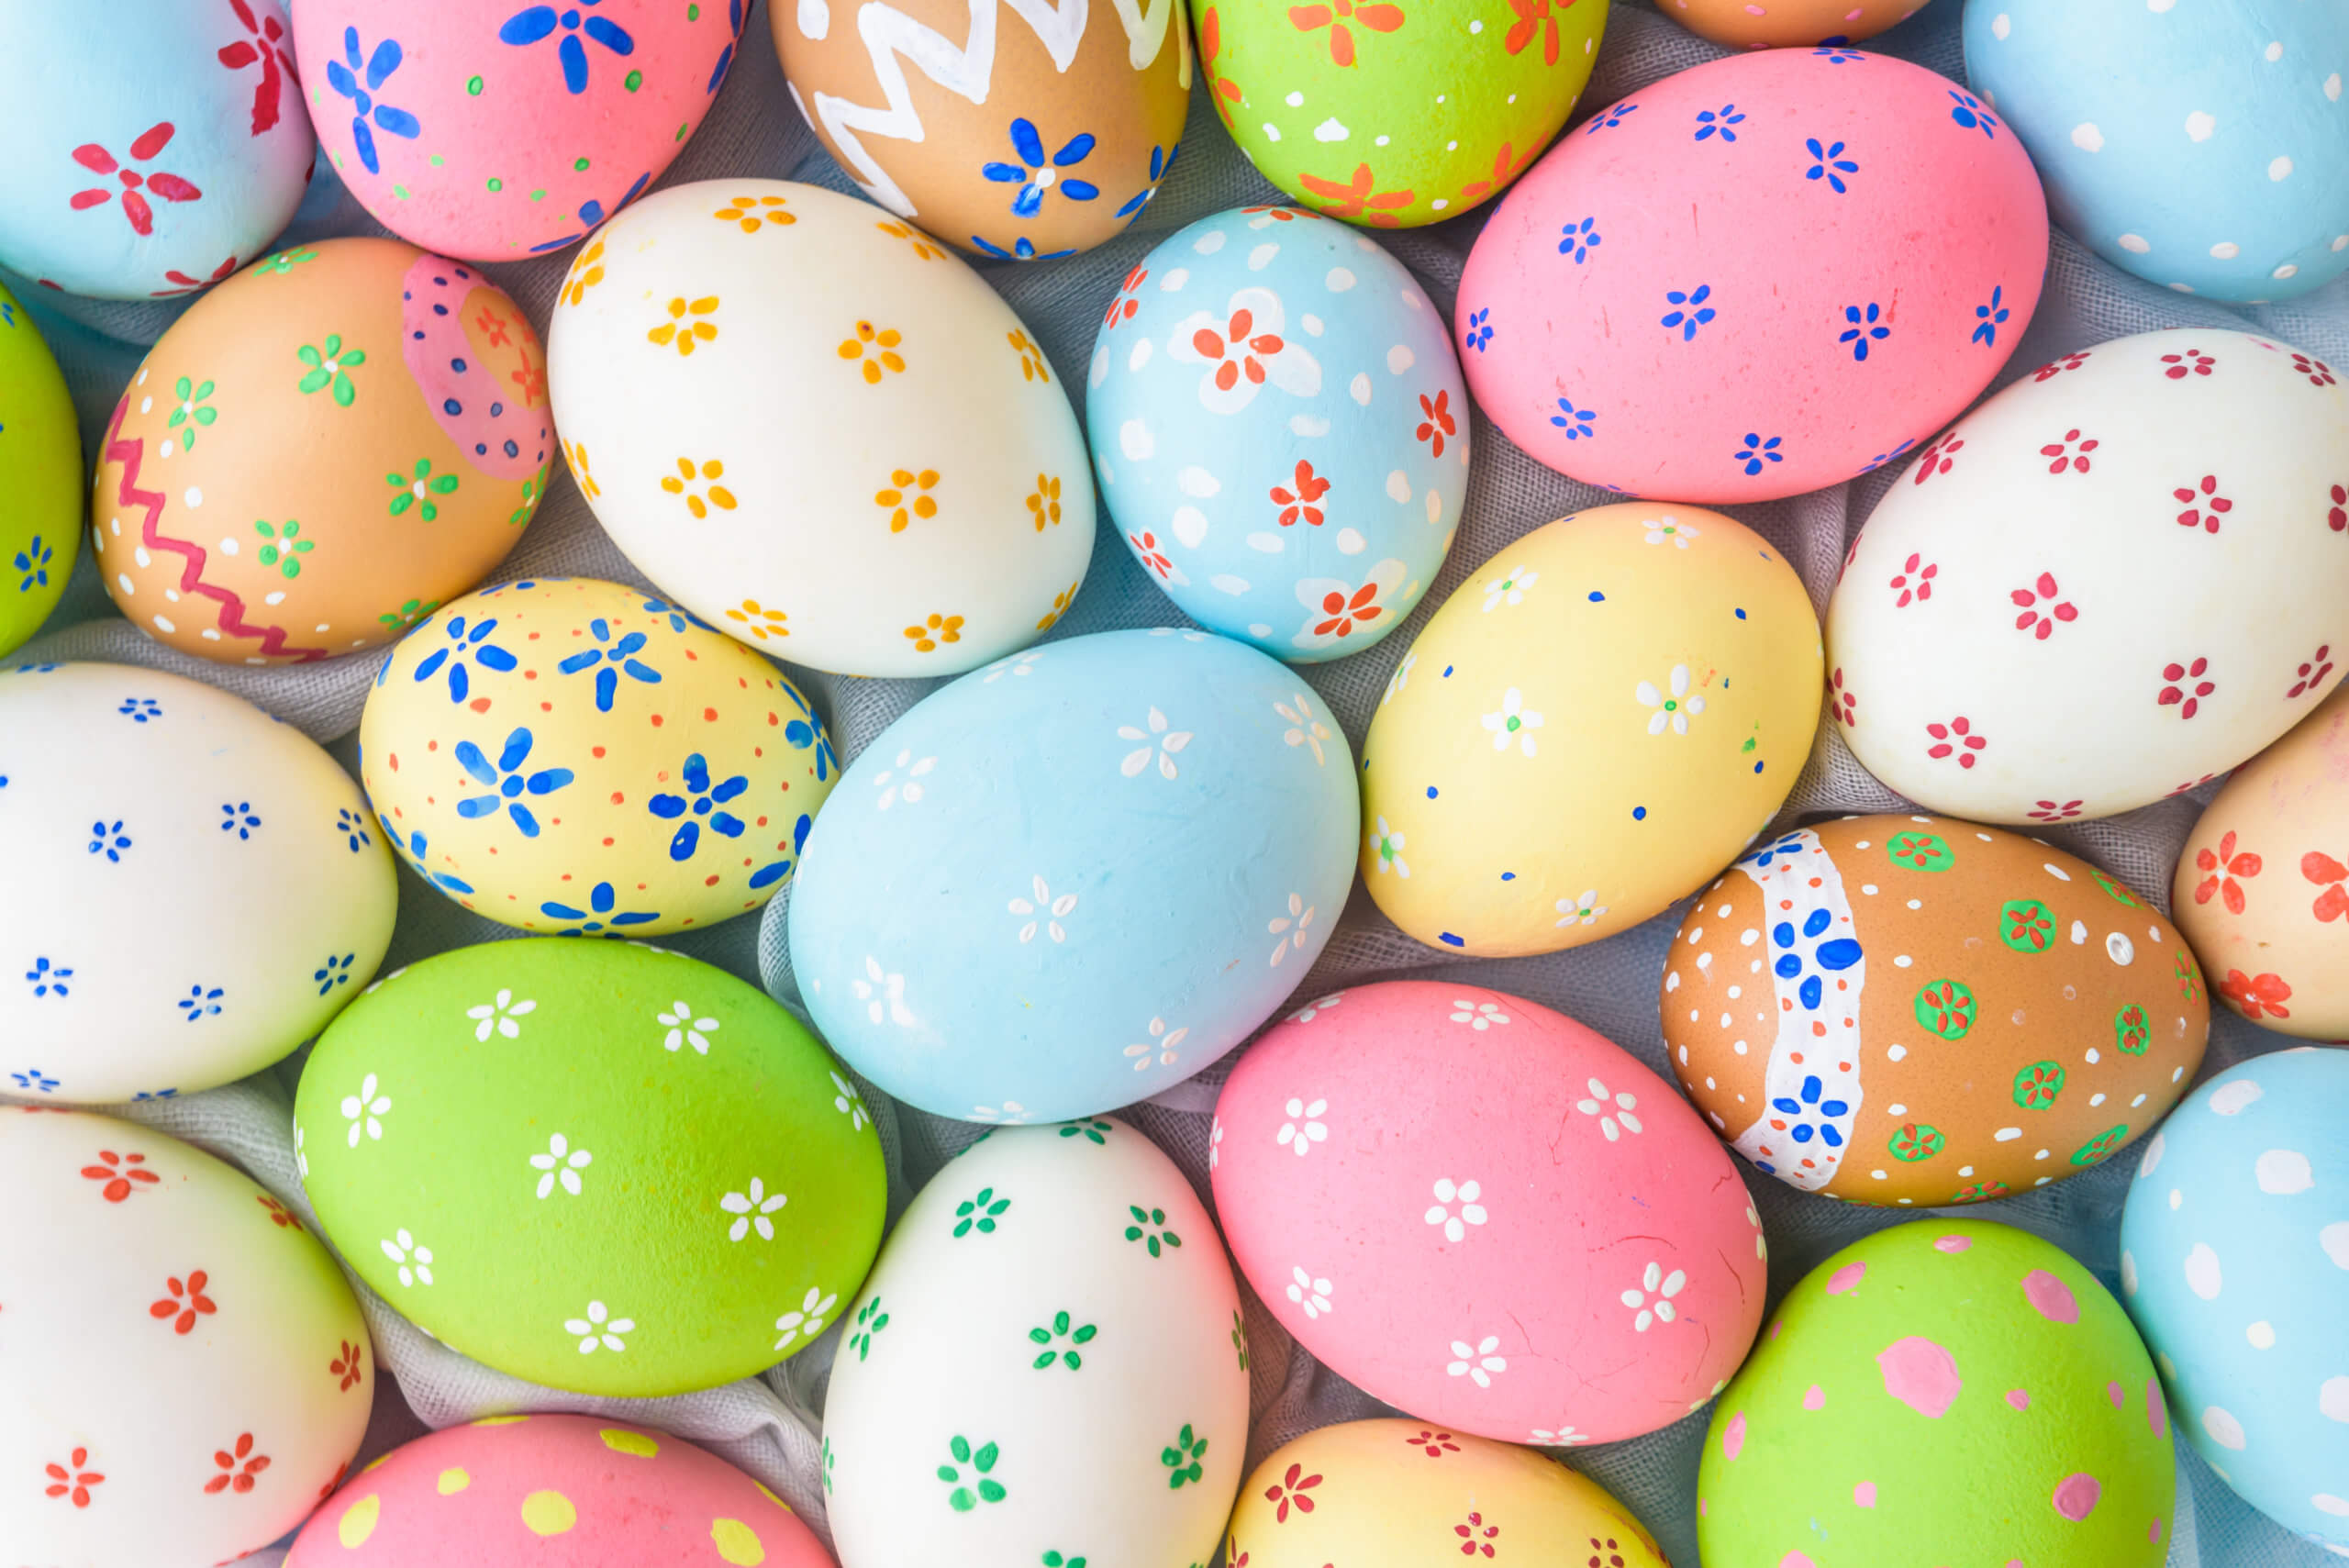
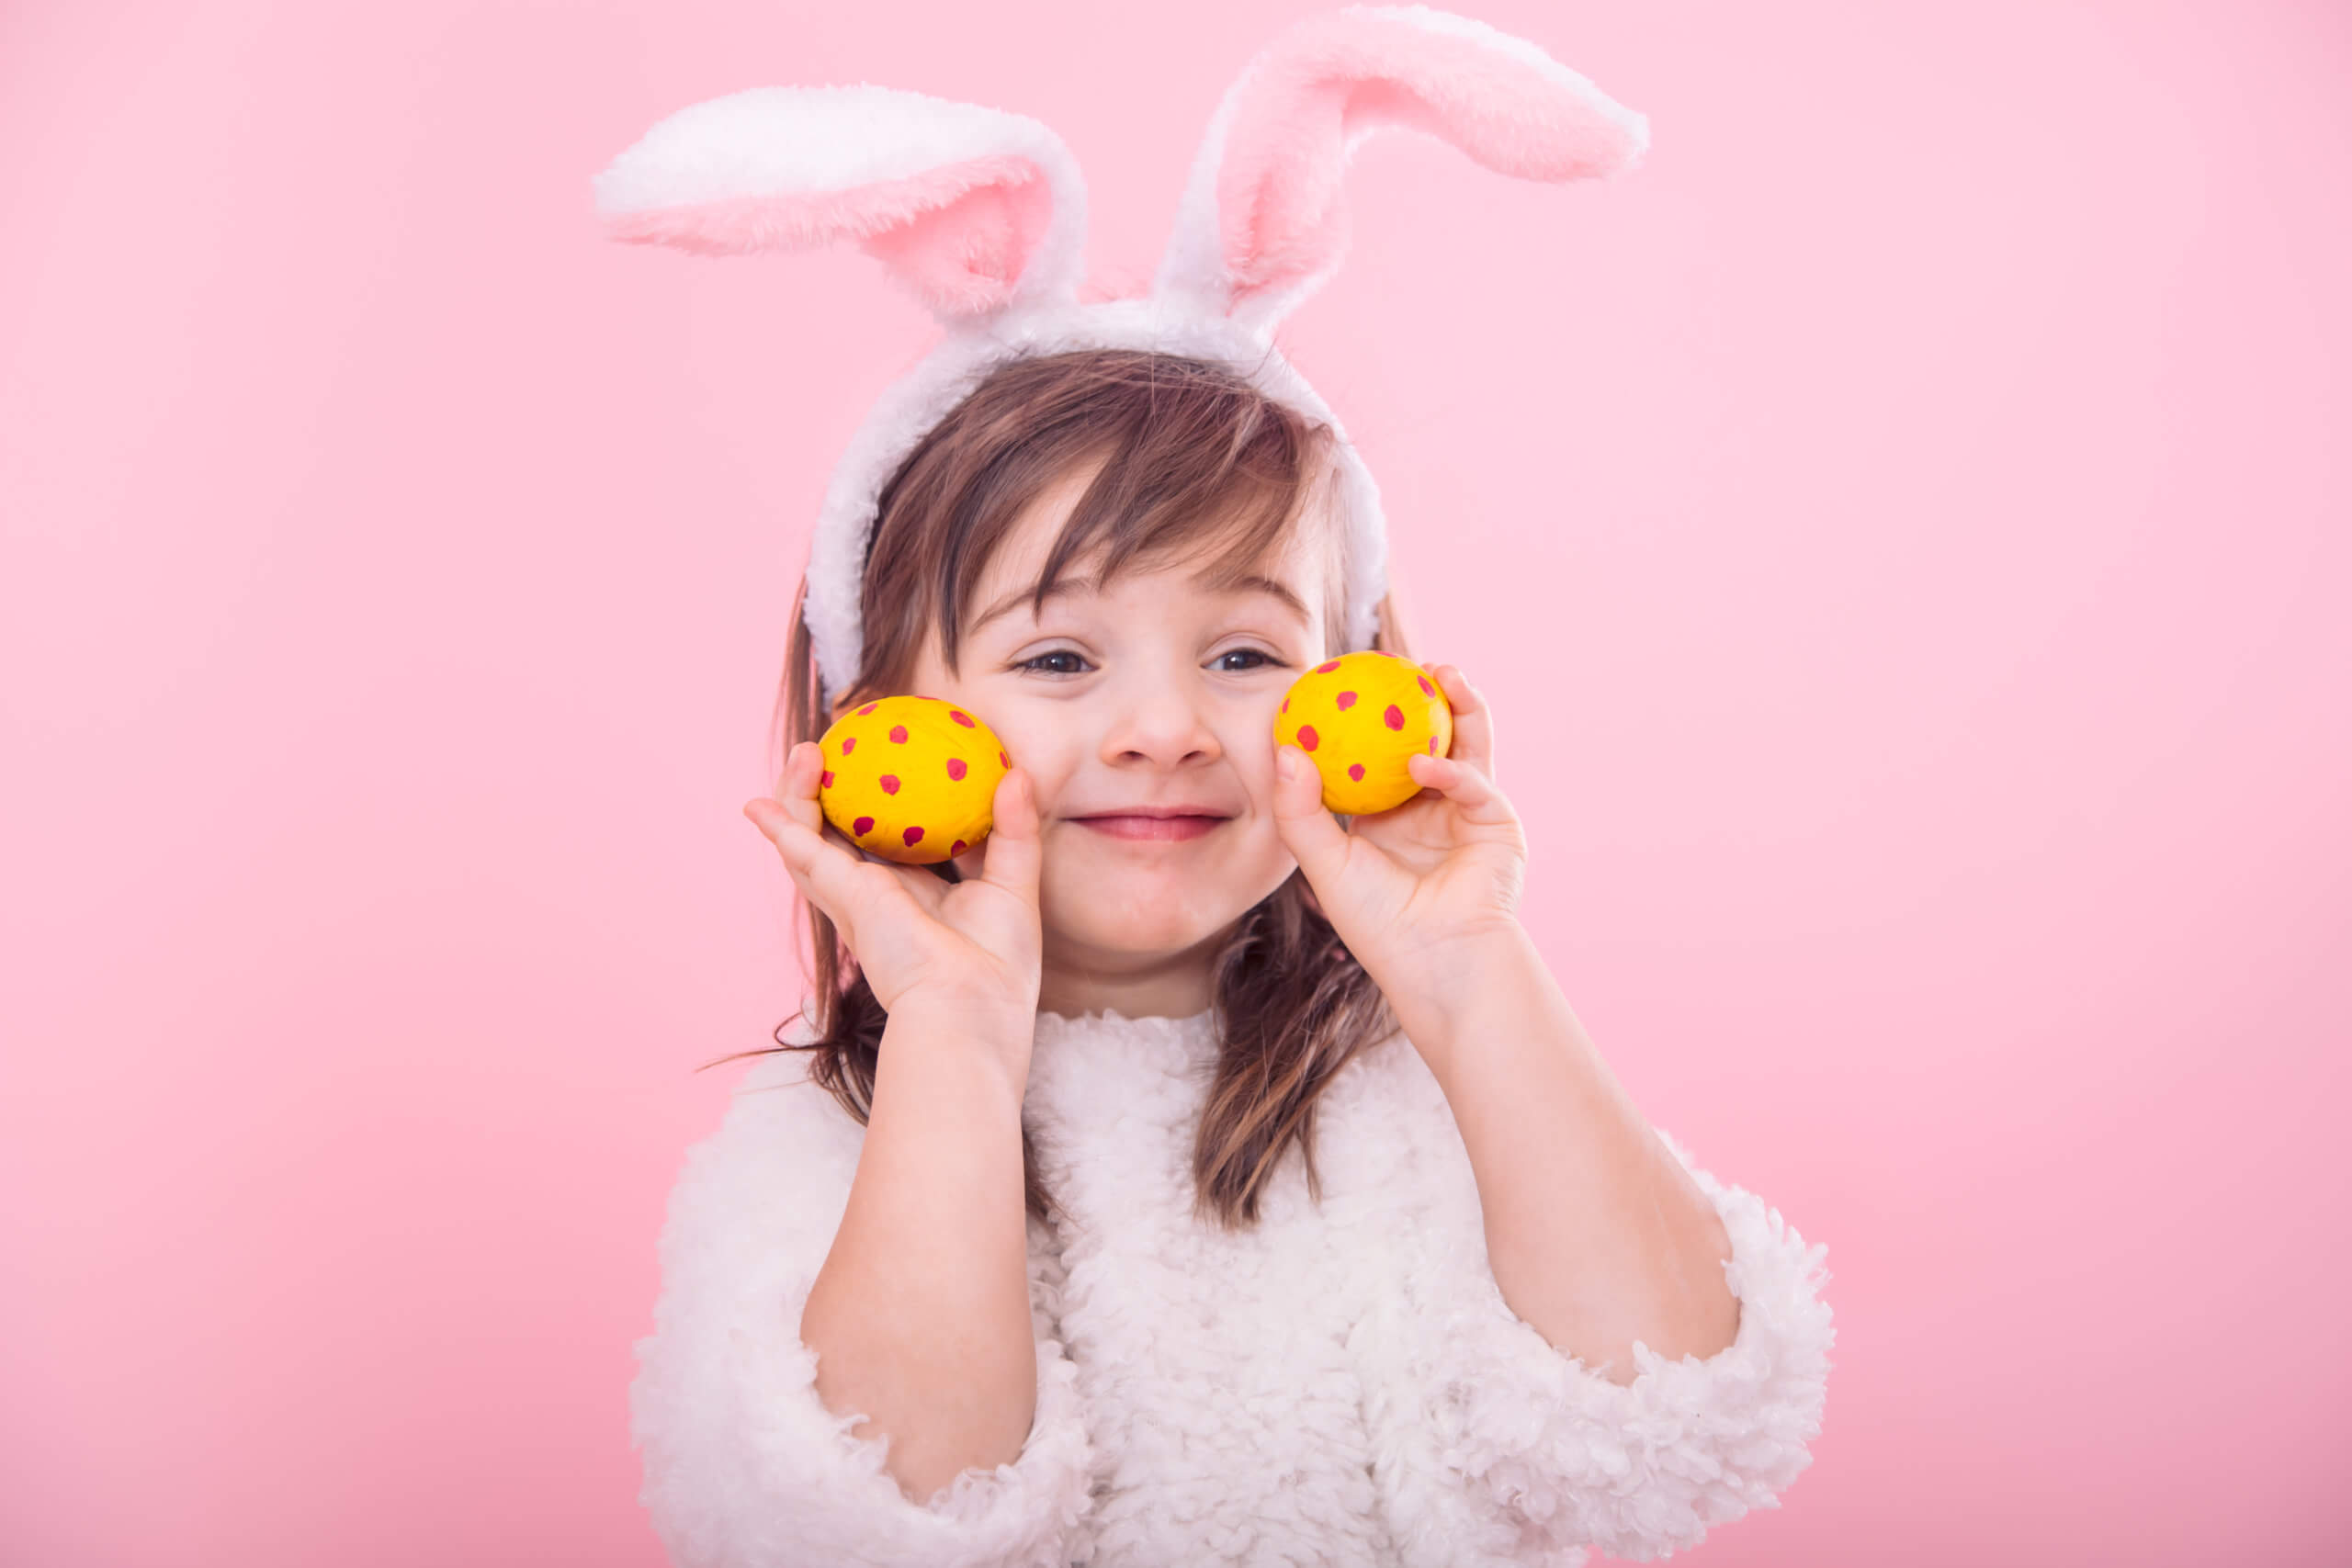
Get Creative with Painted Easter Eggs!
Painting Easter eggs is a fun and creative way to add a personal touch to your Easter egg hunt! Whether you’re decorating with little ones or unleashing your own artistic skills, this activity lets everyone put their unique spin on a classic tradition. Plus, it makes for a great messy, hands-on experience that brings the family together!
What you need:
- Eggs (of course!)
- Acrylic or poster paint
- Paintbrushes (various sizes)
- A paint palette (or an old butter lid – recycling for the win!)
- A toothpick or skewer
How to Paint Your Easter Eggs:
- Prepare Your Eggs – Gently wash your eggs to remove any dirt or feathers.
- Hollow Them Out – Carefully pierce a small hole at the top and bottom of each egg using a toothpick. Blow gently through one end to remove the yolk and whites (handle with care!).
- Use the Egg for Cooking – Don’t let the contents go to waste, whip up an omelette or bake a cake!
- Clean the Shells – Wipe away any remaining egg residue and allow them to dry completely.
- Get Your Paint Ready – Set up your paints and brushes before you start, because no one wants to hunt for the perfect shade of green with paint-covered hands!
- Apply a Base Coat – Paint the entire shell in a single colour and let it dry before adding details.
- Let Your Imagination Run Wild! – Add polka dots, stripes, flowers, or even turn your egg into a tiny character with a face and personality.
- Allow to Fully Dry – Make sure they’re completely dry before hiding them, no one wants a smudged masterpiece!
Tip: If working with younger children, you can use hard-boiled eggs instead of hollowed ones for easier handling.
Now, let the egg hunt begin!
Hop into Easter with DIY Bunny Ear Headbands!
No Easter celebration is complete without a pair of adorable bunny ears! Whether you’re getting crafty with the kids or adding a fun touch to your Easter outfit, these easy-to-make bunny ear headbands will have everyone hopping with joy!
Please be careful with little ones as this uses scissors and staplers.
What you need:
- Coloured paper (different shades for contrast)
- Pens, markers, or pencils for decorating
- Scissors
- Tape or a stapler
- Glue stick
- Other decorations (use your imagination!)
How to Create Your Bunny Headband:
- Make the Headband Base
- Wrap a strip of paper around your head and mark where it overlaps – make sure it’s snug but comfortable!
- Cut the strip to the marked length and adjust the width to around 3cm for the perfect fit.
- Decorate the strip however you like – get creative with patterns, stickers, or even glitter!
- Secure the strip into a circle using tape or a stapler.
2. Create the Bunny Ears
- Fold a piece of paper in half and draw one bunny ear shape – a slightly pointed oval works best!
- Cut it out while the paper is still folded to create two identical ears.
- Repeat this step with a smaller shape in a contrasting colour (pink is perfect for the inner ear!).
- Glue the smaller inner ears onto the larger outer ears for a cute two-tone effect.
3. Attach the Ears
- Tape or glue the ears to the inside of the headband, making sure they stand up straight.
- For extra durability, fold the bottom of the ears slightly before sticking them on.
Wear with Pride! Pop your bunny ears on and get ready to hop into Easter fun! Now, you’re all set to be the Easter Bunny of the day!
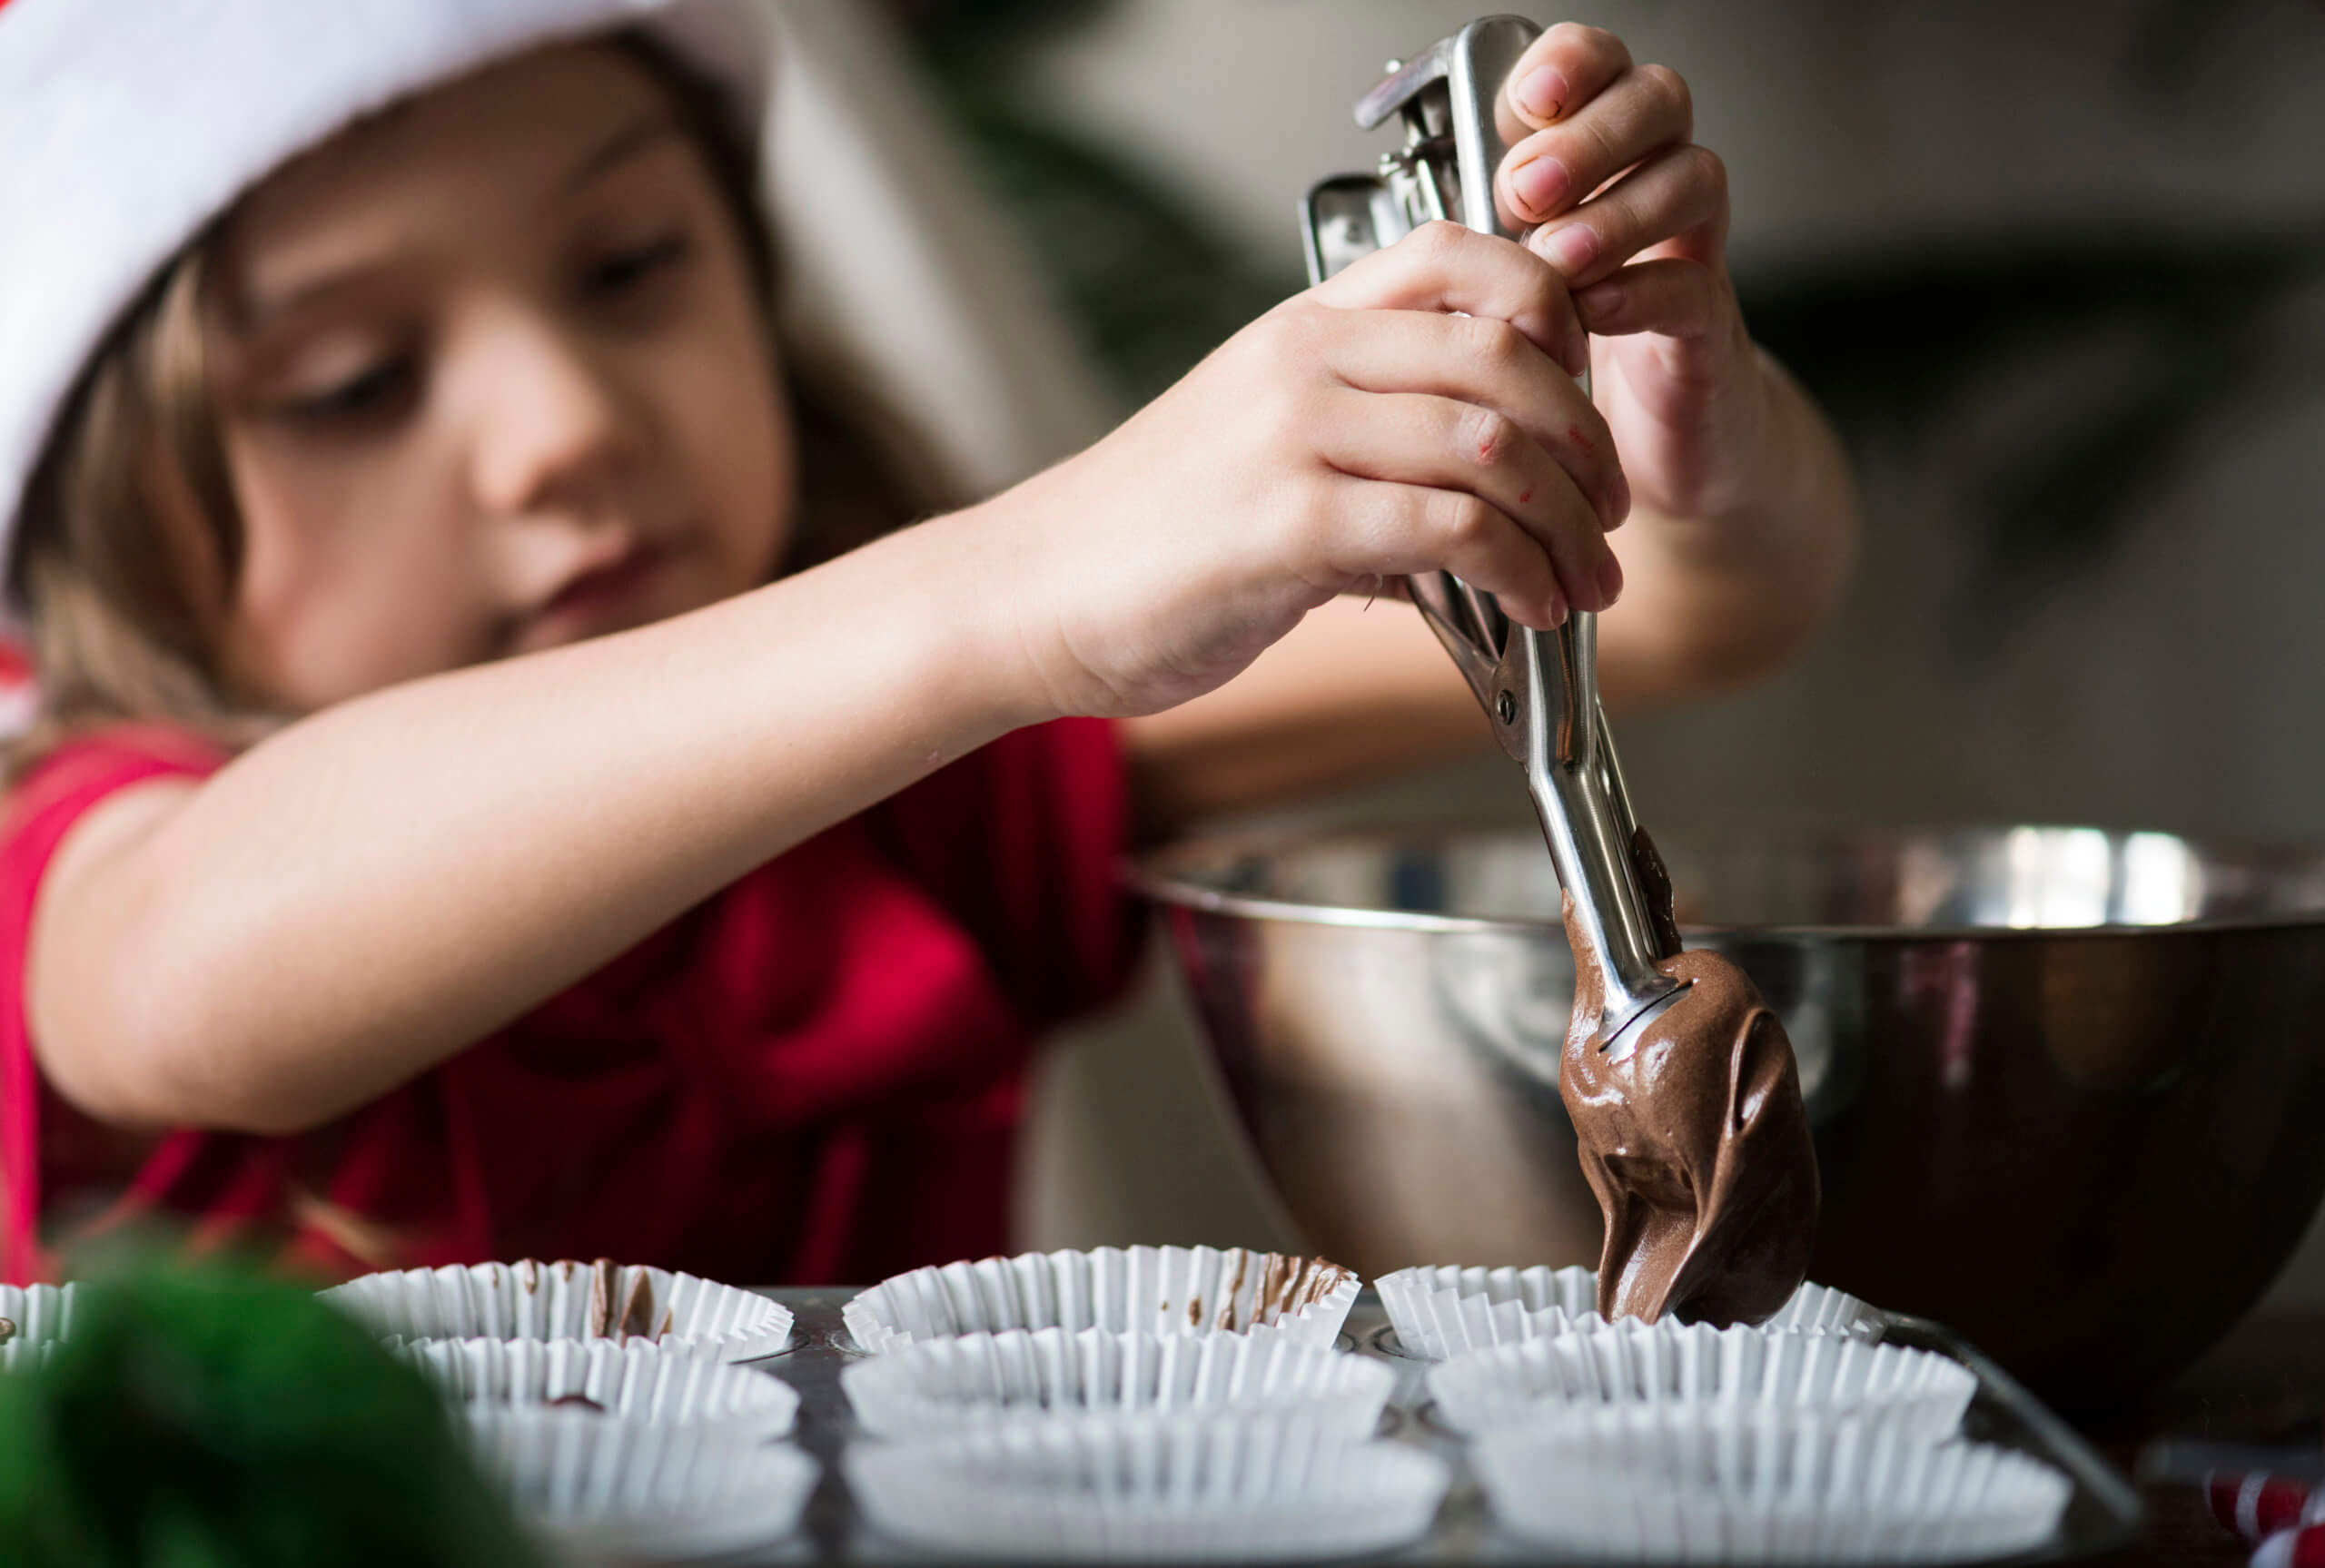
Deliciously Simple Easter Nests
No Easter celebration is complete without chocolatey, crunchy Easter nests! These no-bake treats are quick, easy, and perfect for making fun family memories. Plus, they taste as good as they look!
What you need:
- 200g chocolate (milk, dark, or white – your choice!)
- 100g Cornflakes (or Rice Krispies/Shredded Wheat for a different texture)
- Mini Eggs (for that classic nest look)
- Mixing bowl
- Spoon
- Muffin tray
- Muffin cases
How to Make Your Easter Nests
- Prep Your Muffin Cases
- Place muffin cases into the tray before you start – things will get messy fast!
2. Melt the Chocolate
- Break the chocolate into small pieces and place it in a microwave-safe bowl.
- Heat in 10-20 second bursts, stirring between each to prevent burning.
- Alternatively, melt it over a saucepan of simmering water for a silky-smooth texture.
3. Mix in the Cereal
- Pour the melted chocolate over the cereal and stir until every piece is coated.
- Make sure it is well covered – this is what makes the nests hold their shape!
4. Shape the Nests
- Spoon the chocolatey mixture into the muffin cases, dividing it evenly.
- Use the back of the spoon to create a little dip in the centre – this is where the mini eggs will sit!
5. Add the Mini Eggs
- Place 2-3 mini eggs on top of each nest for that perfect Easter touch!
6. Let Them Set
- Pop the tray into the fridge and leave for at least 2 hours until the nests are firm. We know, waiting is the hardest part!
7. Enjoy!
- Once set, take them out and dig in! These crunchy, chocolatey treats are perfect for Easter gatherings, picnics, or just a little indulgence.
Top Tip: Want to get egg-stra creative? Drizzle melted white chocolate over the nests or mix in some desiccated coconut for a nest-like texture!
Who’s ready to get baking?
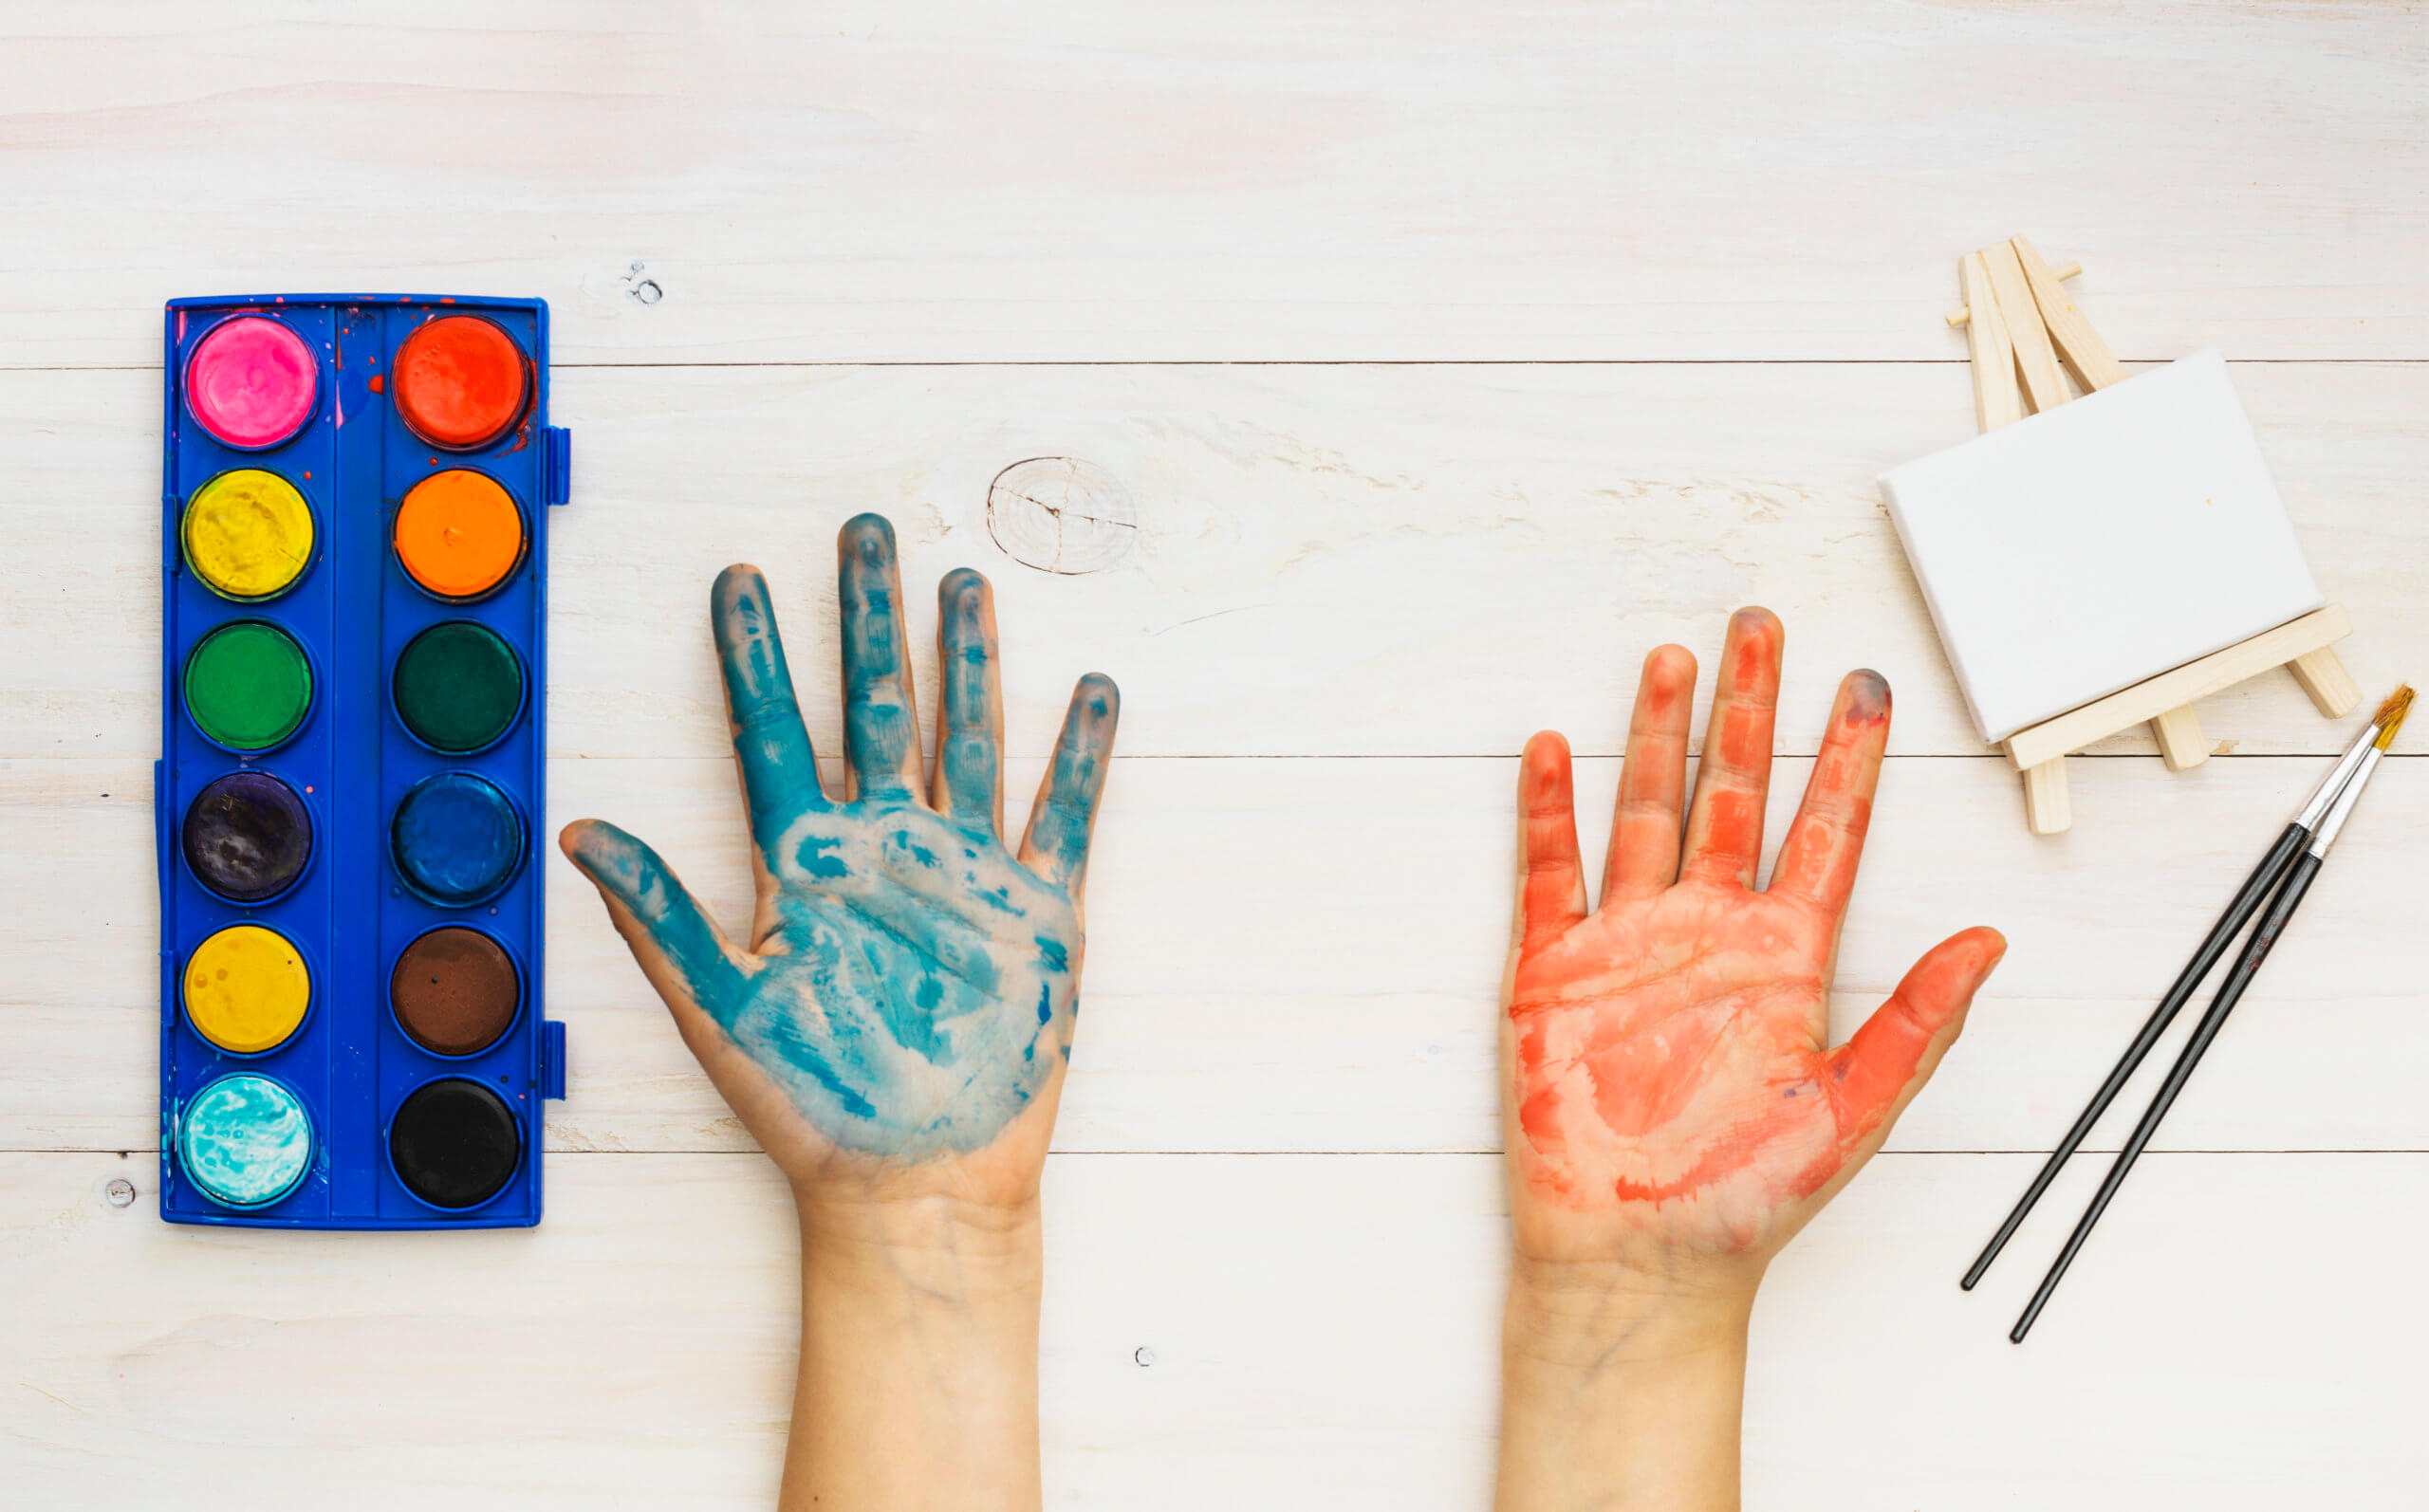
Bunny Handprints – A Fun & Messy Easter Keepsake!
Looking for a simple, creative, and sentimental Easter activity? Bunny handprints are a perfect keepsake that will capture precious memories for years to come. Plus, they’re fun, messy, and make great gifts for family members!
Why You’ll Love This Activity:
- A fun and hands-on craft for kids of all ages
- A keepsake to cherish – compare hand sizes each year!
- A great way to spark creativity with different colours and decorations
What you need:
- Paper (large enough to fit a handprint)
- Paint (any bunny colour – grey, brown, pink, or even rainbow!)
- A large paintbrush (for easy hand coverage)
- A paint palette (or an old butter lid for easy clean-up)
- Pens or markers (for details and decorations)
- Your hands!
How to Make Your Bunny Hand Prints
- Prepare Your Paper
- Choose a piece of paper big enough for your full handprint.
2. Paint Your Hand
- Using a brush, apply a thick, even layer of paint to your palm and fingers.
- Make sure the paint isn’t too runny to avoid smudging!
3. Create Your Bunny Shape
- Firmly press your painted hand onto the paper – your fingers will become the bunny’s ears!
- Hold it still for a few seconds, then lift straight up to avoid smudging.
- Let it dry completely.
4. Add the Bunny’s Face
- Use pens or markers to draw on eyes, a nose, whiskers, and a smile!
- Add extra decorations – stickers, glitter, or even a cotton ball for a fluffy tail!
Make it a tradition! Write the date and your child’s name on the artwork to track their hand size over the years. These adorable bunny handprints make a wonderful Easter decoration or a heartfelt gift for grandparents!
Who’s ready to get their hands messy?
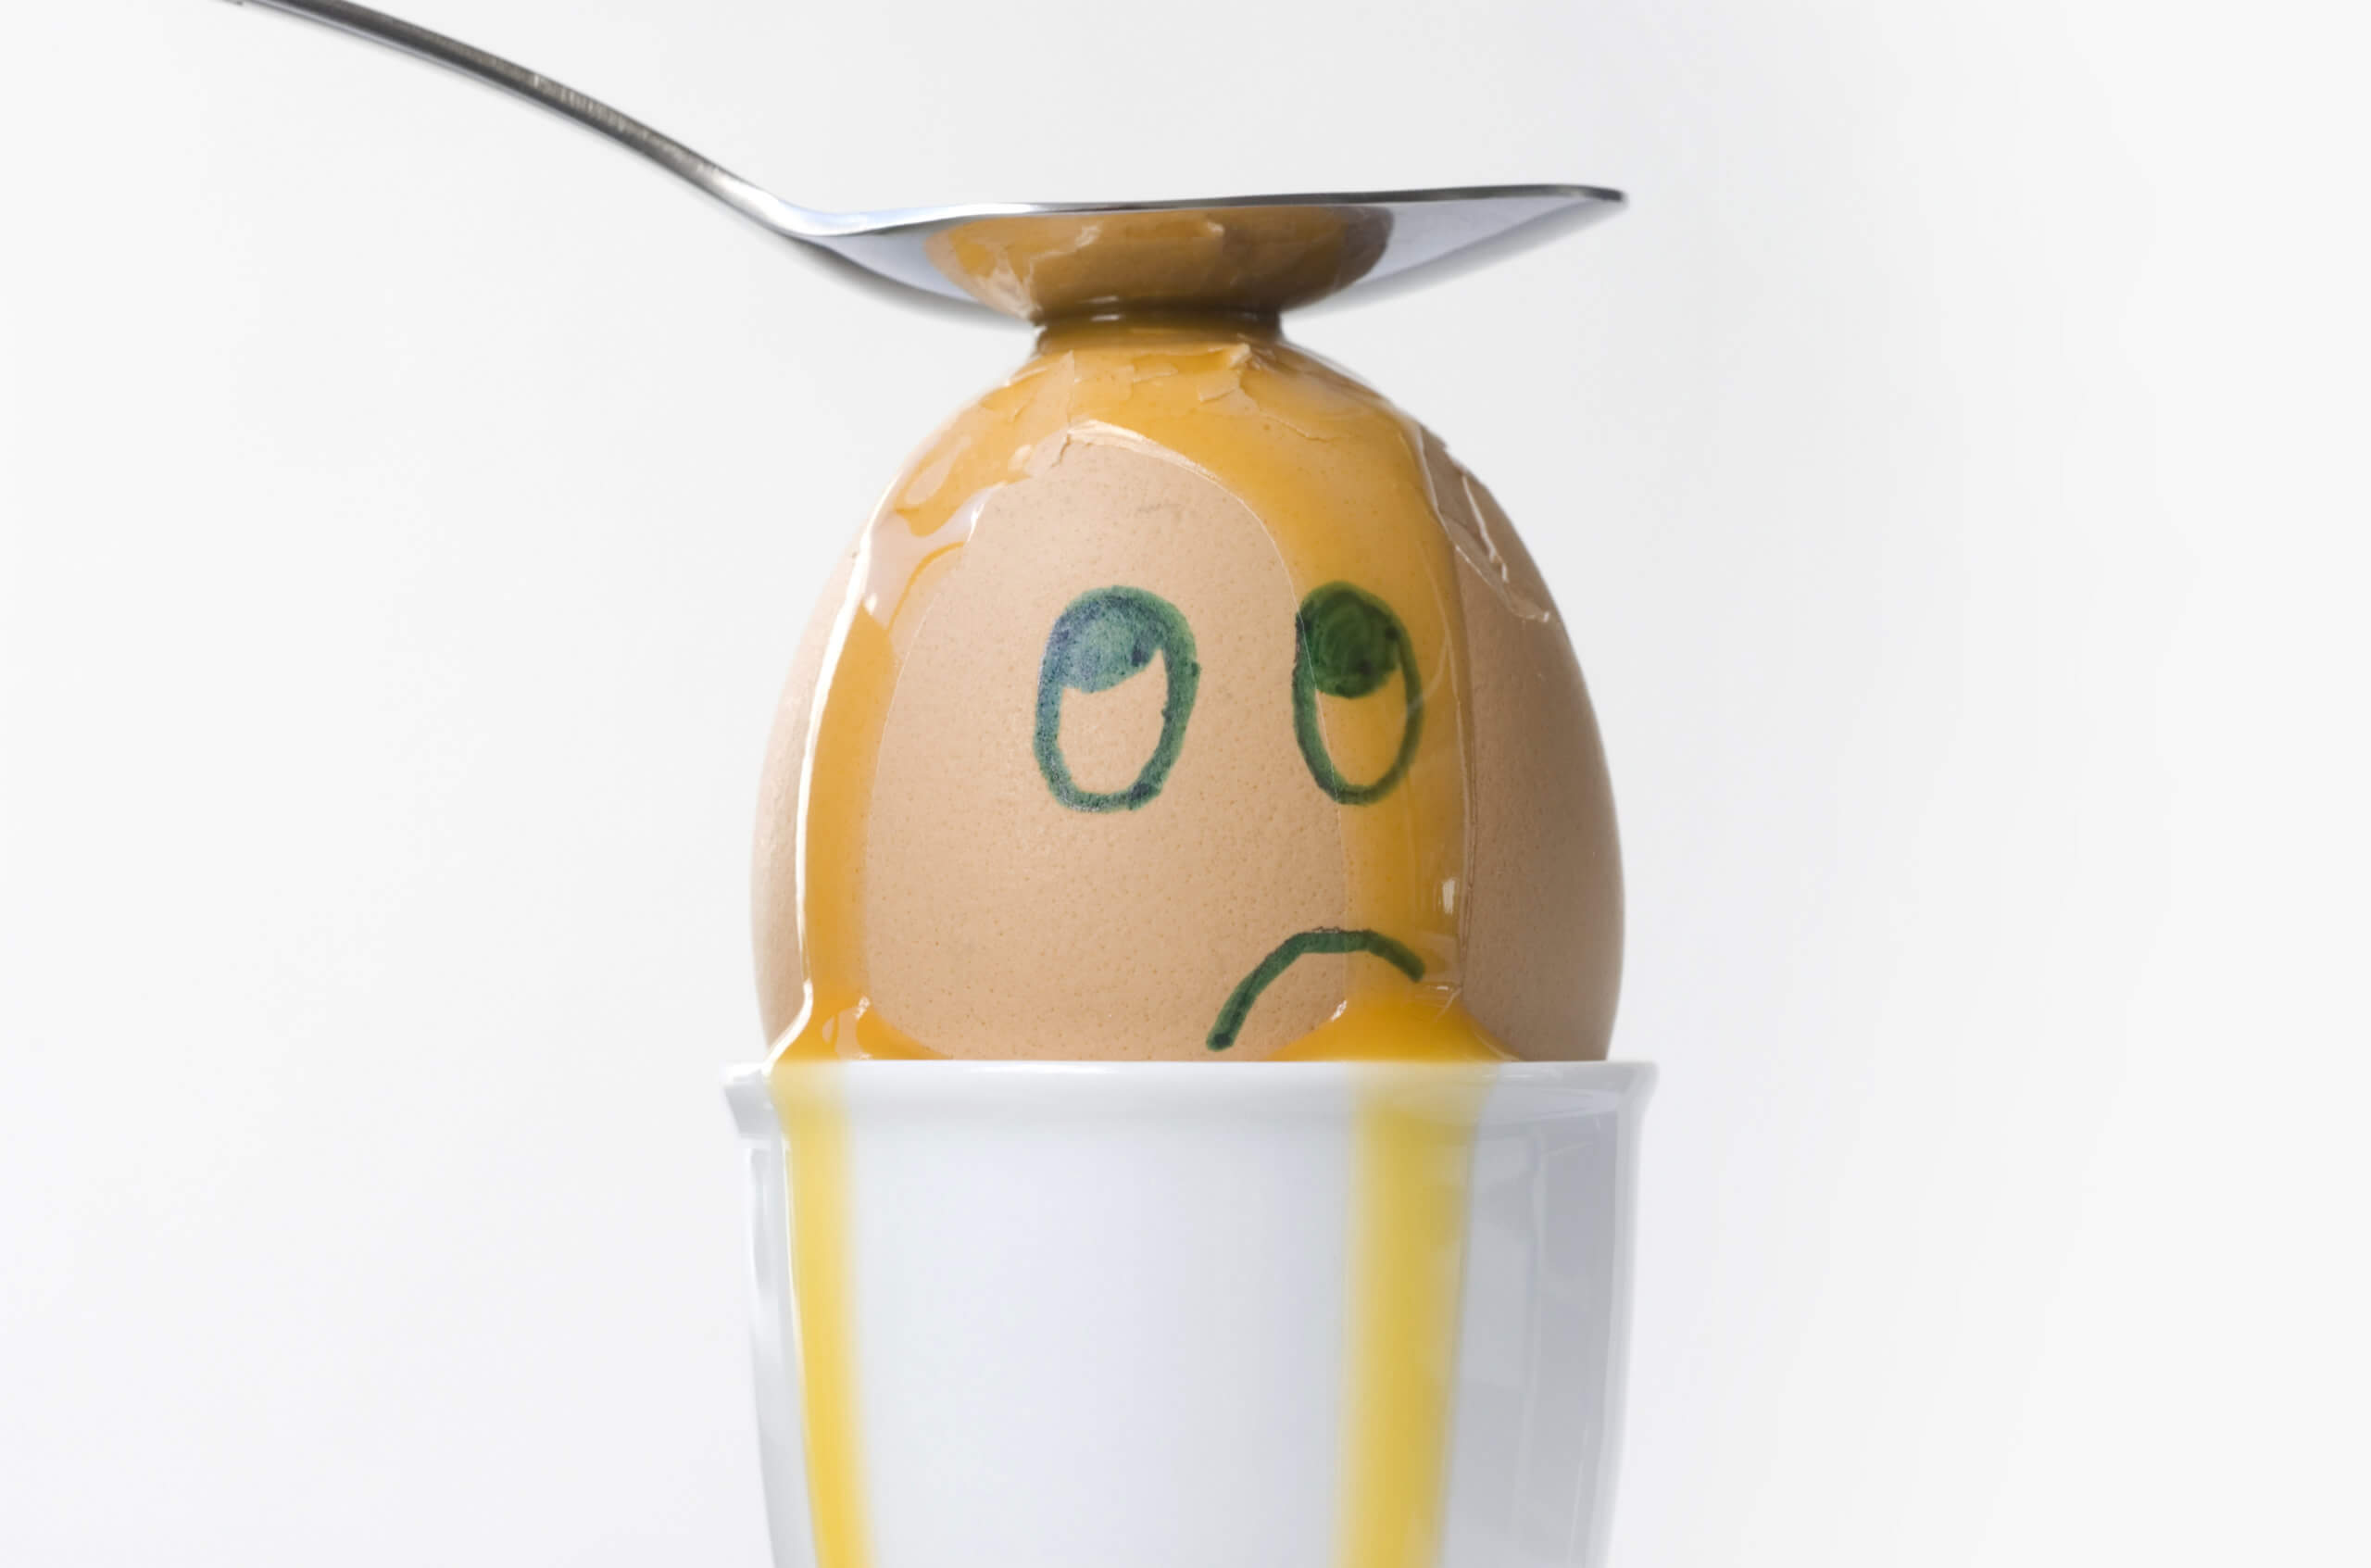
Easter Egg Drop Challenge!
Think you’ve got what it takes to protect your egg from a big fall? Put your engineering skills to the test with this fun Egg Protector Challenge! Your mission is to design and build a contraption that will keep an egg safe and uncracked when dropped from 2 metres high.
How to Take Part:
- Gather Your Materials – Look around your home for soft, cushiony, and creative materials! Think cotton wool, bubble wrap, sponges, straws, paper, cardboard, balloons, plastic bags, or even marshmallows. Anything that can help absorb impact!
- Design Your Egg Protector – Will you create a parachute? A bouncy nest? A crumple zone? Sketch out your idea before building.
- Build & Secure Your Egg – Carefully wrap and secure your egg inside your protector. Make sure it’s snug but not too tight!
- The Drop Test! – Find a safe spot (like a garden or outside area) and drop your protected egg from 2 metres high.
- The Moment of Truth – Open your protector and check… is your egg still in one piece?
Bonus Challenges!
- Can you make a lightweight design?
- Can you drop it from an even higher height?
- Can you protect TWO eggs at once?
Get the whole family involved and see who can build the best egg-saving contraption!
Wrapping Up: An Easter to Remember!
Easter is the perfect time to embrace creativity, make memories, and start new traditions with your loved ones. Whether you’re painting eggs, crafting bunny ear headbands, whipping up delicious Easter nests, or creating adorable bunny handprints, these activities bring joy, laughter, and a touch of handmade charm to your celebrations.
The best part? These simple yet meaningful crafts can become yearly traditions, growing alongside your family and adding a personal touch to each Easter season. So why not get messy, have fun, and make this Easter one to remember?
Which activity will you try first? Let us know, and don’t forget to share your creations on social media – we’d love to see them!
If you enjoyed our Easter Arts & Crafts blog, you might like our other blogs. Find them here.
If you’re planning your next getaway, book your stay with us at Lady’s Mile today. Click here to secure your spot and create unforgettable memories!